E Panta is a digital crop registration system launched by the Andhra Pradesh government. It allows farmers to enter their farming and crop-related information online. “Panta” means crop, so ePanta means electronic crop records. This system records the farmer’s name, land survey number, crop type, season (kharif or rabi), and cultivated area. The primary objective of ePanta is to ensure that benefits from government schemes, subsidies, and crop insurance reach the right farmers. This increases transparency and reduces the likelihood of fraudulent records.

Overview of e Panta Login
| Subject | Description |
| Scheme Name | epanta |
| Launched By | Government of Andhra Pradesh |
| Purpose | Online registration of farmers’ crop details |
| Meaning of e Panta | Crop |
| Type | Kharif and Rabi |
| Beneficiaries | Farmers of Andhra Pradesh |
| Application Process | Online |
| Official Website | https://karshak.ap.gov.in/ecrop/ |
Services Offered by the ePanta Portal
- Online crop declaration by farmers
- Self-declaration of cultivated land details
- Digital verification of land ownership records
- Recording tenant and sharecropper cultivation details
- Updating crop type, season, and cultivated area
- Integration with PM-Kisan beneficiary verification
- Support for Crop Insurance (PMFBY) enrollment
- Eligibility verification for agriculture subsidies and schemes
- Online correction of submitted crop details
- Status tracking of ePanta applications
- Generation and download of acknowledgment/receipt
- Reduction of manual paperwork and village-level errors
- Transparent linkage between land records and agriculture data
- Real-time data availability for government departments
ePanta Registration Process
Access the Official ePanta Andhra Pradesh Website
- Open the official website of e Panta
- Use a smartphone, laptop, or desktop
- Ensure you have a stable internet connection
Begin the Farmer Registration Process
- Click on the Farmer Registration option
- Choose New Registration to continue
Complete Aadhaar Verification Process
- Enter your Aadhaar number correctly
- Click on Get OTP
- Enter the OTP received on your mobile
- Aadhaar details will be verified automatically
Fill in Farmer’s Personal Information
- Enter your full name as per Aadhaar
- Enter father’s or husband’s name
- Select your gender
- Enter your date of birth
- Provide an active mobile number
Select Address and Location Details
- Choose your district from the list
- Select mandal
- Select village
- Select panchayat
Enter Land Ownership and Land Details
- Enter land survey number
- Enter the khata number or land ID
- Enter total land area
- Select land ownership type
Provide Crop Sowing and Cultivation Details
- Select crop season
- Choose the cultivation year
- Select a crop name, such as paddy
- Enter total crop area
- Choose an irrigation source
Add Bank Account Information for Payments
- Enter bank account number
- Enter IFSC code
- The bank name will be filled automatically
Upload Required Documents
- Upload the Aadhaar card copy
- Upload the land document if required
Review All Details and Submit Application
- Check all entered information carefully
- Correct any mistakes if found
- Click on Submit to finish registration
- Save the reference number
Verification and Approval by Officials
- The application will be checked by local officials
- Verification may take some time
- Approval confirmation will be sent by SMS
Required Documents for epanta
- Aadhaar Card
- Aadhaar-linked mobile number
- Land ownership document (Pattadar Passbook / Title Deed)
- Survey Number or Land ID details
- Tenant certificate (for tenant farmers, if applicable)
- Bank passbook
- Passport-size photograph
- Crop sowing details proof (if required by officials)
- Ration card
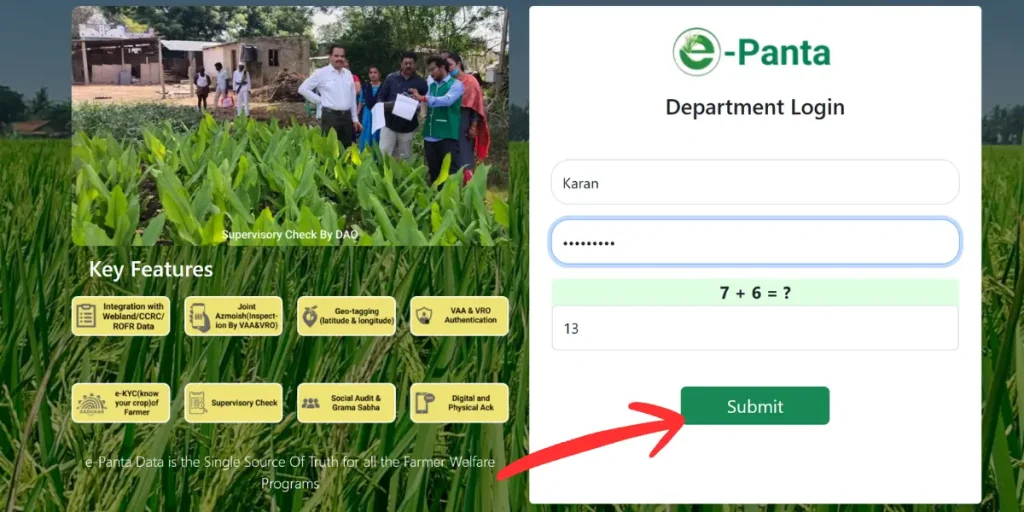
How to E Panta Login?
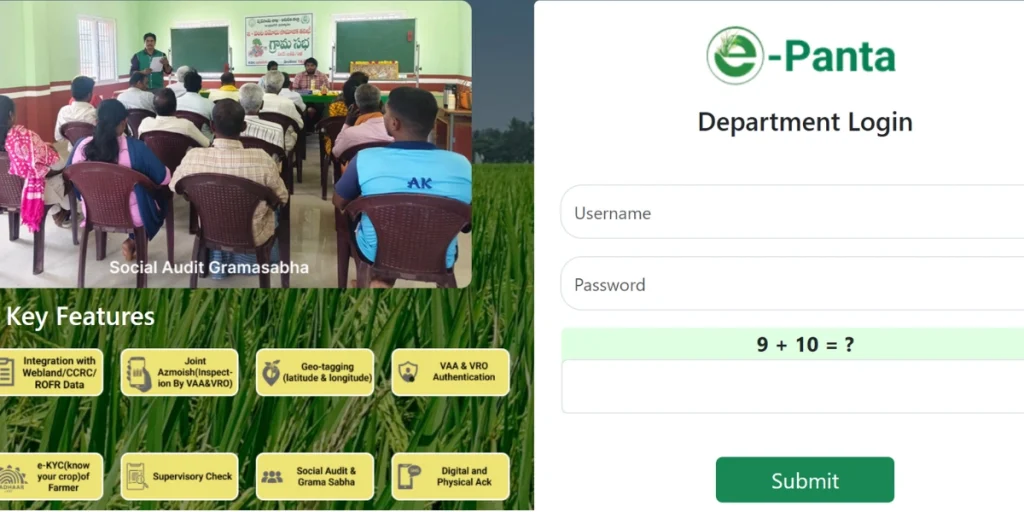
- First, visit the official e-Panta portal website of the Andhra Pradesh government.
- Then, click on the Login or Farmer Login option available on the homepage.
- Then, enter your user ID, password, and captcha code correctly.
- Now, after logging in, farmers can view information about their land, crop name, area, and season (Kharif/Rabi).
- Benefits of subsidies, crop insurance, and other schemes are available based on the data entered through the e Panta login.
- The password can be retrieved using the “Forgot Password” option.
Self-Declaration of Cultivated Land Details – Online Process (e-Panta Andhra Pradesh)
Visit the Official Online Portal
- Open the official e-Panta agriculture portal
- Use a mobile phone or computer
- Ensure a stable internet connection
Log in to the Portal
- Log in using your Aadhaar number or mobile number
- Verify login with OTP sent to mobile
- Dashboard will open after verification
Select Self-Declaration Option
- Click on Self-Declaration
- Select Cultivated Land Details
- Start a new declaration form
Enter Farmer’s Personal Details
- The farmer’s name will auto-fill from Aadhaar
- Check the Aadhaar number carefully
- Confirm mobile number
Enter Cultivated Land Information
- Select the district, mandal, and village
- Enter land survey number
- Enter total land area
- Enter cultivated land area
- Select land type, like owned or leased
Fill Crop Cultivation Details
- Select crop season
- Choose crop year
- Select crop name
- Enter crop area
- Select irrigation source
Upload Required Documents
- Upload the Aadhaar card copy
- Upload the land document if required
- Upload the lease document for tenant farmers
Review Entered Details
- Check all information carefully
- Make sure details are correct
- Edit if any mistake is found
Submit Online Self-Declaration
- Click on the Submit button
- The application reference number will be generated
- Save the reference number safely
Online Verification and Status Check
- Details will be verified online
- Status will be updated on the portal
- Approval SMS will be sent to the mobile
Verification of e-crop registration details E Panta (ఈ-పంట నమోదు వివరాల ధృవీకరణ ఈ-పాంటా)
Verification of e-crop registration details is an important process for farmers to ensure that the benefits of government schemes reach the right beneficiaries. It is crucial that the information provided in e-crop registration is accurate. Below are the key points related to verification.
- The farmer’s name and Aadhaar details must be correct.
- Land records (khasra/khatauni) are matched.
- The crop type and sown area are verified.
- Bank account details are checked.
- Any errors must be corrected promptly.
Benefits of e Panta
- The crop registration process is online and easy.
- Farmers save time and money.
- Transparency in crop data is maintained.
- Benefits from government schemes are directly distributed to eligible farmers.
- Registration for the crop insurance scheme is simple.
- It facilitates access to subsidies and compensation.
- Land records are digitally verified.
- False or fraudulent claims are prevented.
- Accurate information about crop area and type is available.
How to Check the e Panta Status?
Knowing how to check e Panta status is essential for farmers to keep track of their registration status in a timely manner. Below are the simple steps.
- First, visit the official ePanta portal.
- Select the “Check Status” option on the homepage.
- Enter your Aadhaar number/mobile number/registration ID.
- Enter the captcha and click the Submit button.
- Your crop registration status will be displayed on the screen.
- If there are any errors, contact the nearest agriculture office.
E-Panta Application Form
The e-Panta application form is a simple online crop registration process for farmers. Through this form, farmers submit information about their cultivated crops to the government. In the e-Panta application form, information like the farmer’s name, Aadhar number, mobile number, land details, crop name, and sowing area has to be filled.
- The farmer needs to visit the official website of e Panta.
- The application form requires filling in the name, Aadhaar number, and mobile number.
- Land details and crop information must be entered.
- It is important to enter the bank account details correctly.
- You will receive an acknowledgement receipt after submitting the form.
e panta eKYC Step by Step Procedure
How to do ePanta eKYC. This process is necessary so that the identity of the farmer can be verified correctly and government benefits can be received without any interruption.
- First, visit the official website
- Click on the “eKYC / Farmer eKYC” option on the homepage.
- Enter your Aadhaar number and registered mobile number.
- Now, click on the Send OTP option.
- Enter the OTP received on your mobile number in the designated box.
- After OTP verification, your Aadhaar information will automatically appear.
- Check the details displayed on the screen carefully, such as name, date of birth, etc.
- If all the information is correct, click the Confirm/Submit button.
- A message or status update will appear stating that the eKYC was successful.
- If the OTP does not arrive or there is an error, seek assistance from the nearest Agriculture Office/CSC centre.
ePanta App download
How to download the ePanta app? Below are the easy steps:
- Open the Google Play Store on your mobile device.
- Type “ePanta App” in the search box.
- Identify the correct app and click the Install button.
- Wait for the app to download and install.
- Once installed, open the app and log in with your mobile number.
- Enter the OTP to start using the app.
Please verify all cultivated land and crop details carefully before submitting to e-Panta, as incorrect information may affect future benefits.
Frequently Asked Questions (FAQs)
What is ePanta?
e Panta is an online crop registration system that helps farmers record crop details digitally and receive government scheme benefits.
How can I check my e Panta application status?
You can check the status by visiting the official e-Panta portal or app and entering your registered mobile number or application ID.
Is e-KYC mandatory for ePanta?
Yes, e-KYC is mandatory to verify farmer identity and ensure benefits are transferred to the correct beneficiary.
How to e Panta App download the latest version?
Open Google Play Store → search “ePanta” → tap Update/Install → Once done, open the app and log in with your mobile number.